THE LARGEST BMW 2-SERIES FORUM ON THE PLANET
| 03-16-2015, 09:51 AM | #45 |
|
Brigadier General
 
1973
Rep 4,637
Posts |
See link below to Babybmw site here in the UK, towards end of 5th page.
F8x lower control arms installed ok on an m135i (hatchback version of m235i) http://www.babybmw.net/forum/viewtop...69818&start=60 Last edited by Bee Pee; 03-16-2015 at 10:14 AM.. |
|
Appreciate
0
|
| 04-01-2015, 02:53 PM | #46 |
|
Brigadier General
 
1973
Rep 4,637
Posts |
F8x LCAs installed on my m135i by Birds in the UK.
Before - NSF 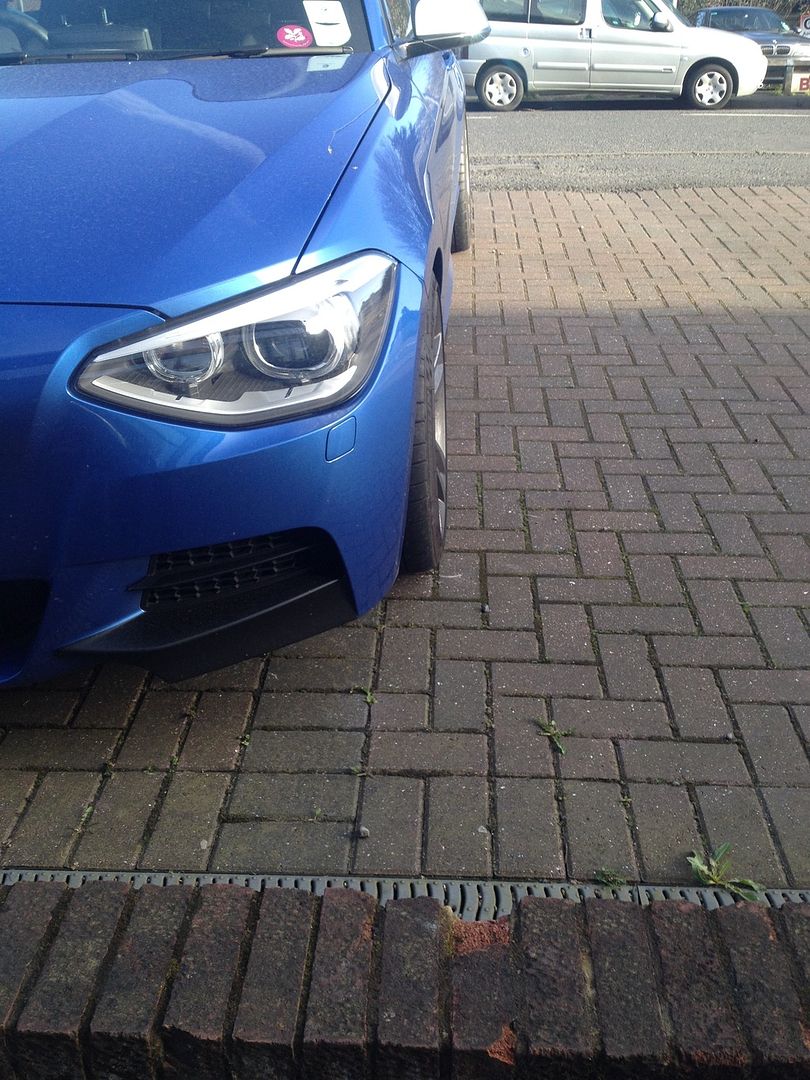 After - NSF 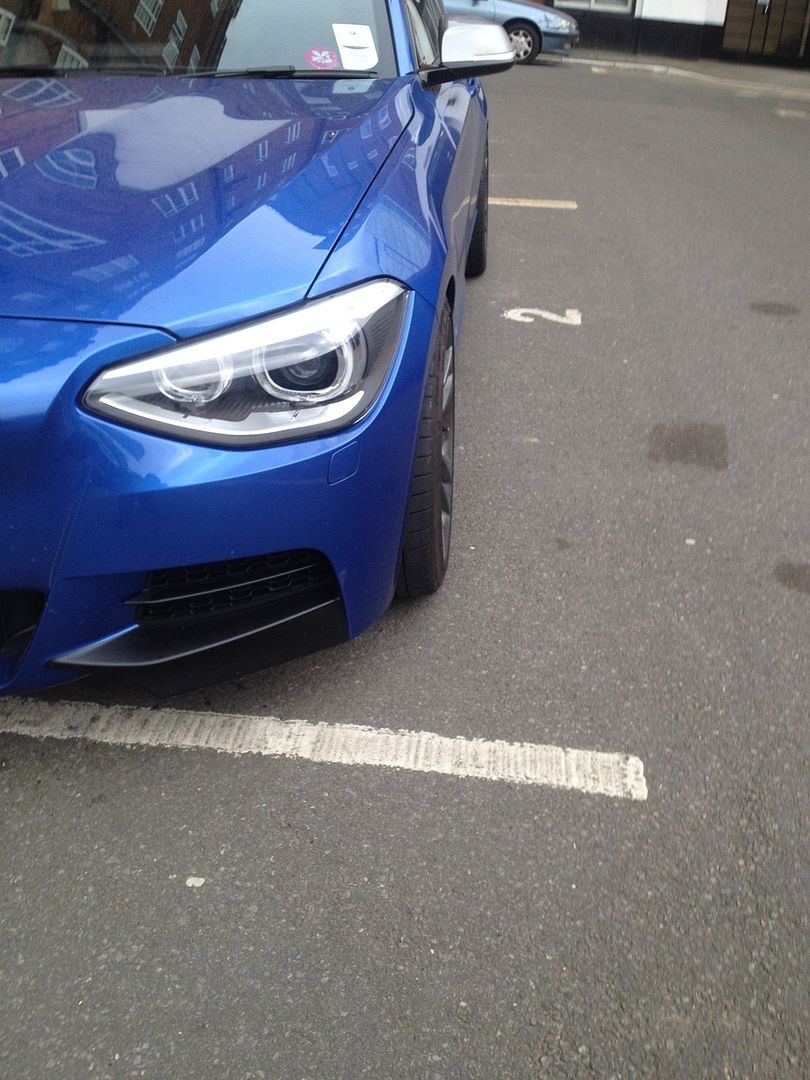 Before - NSF 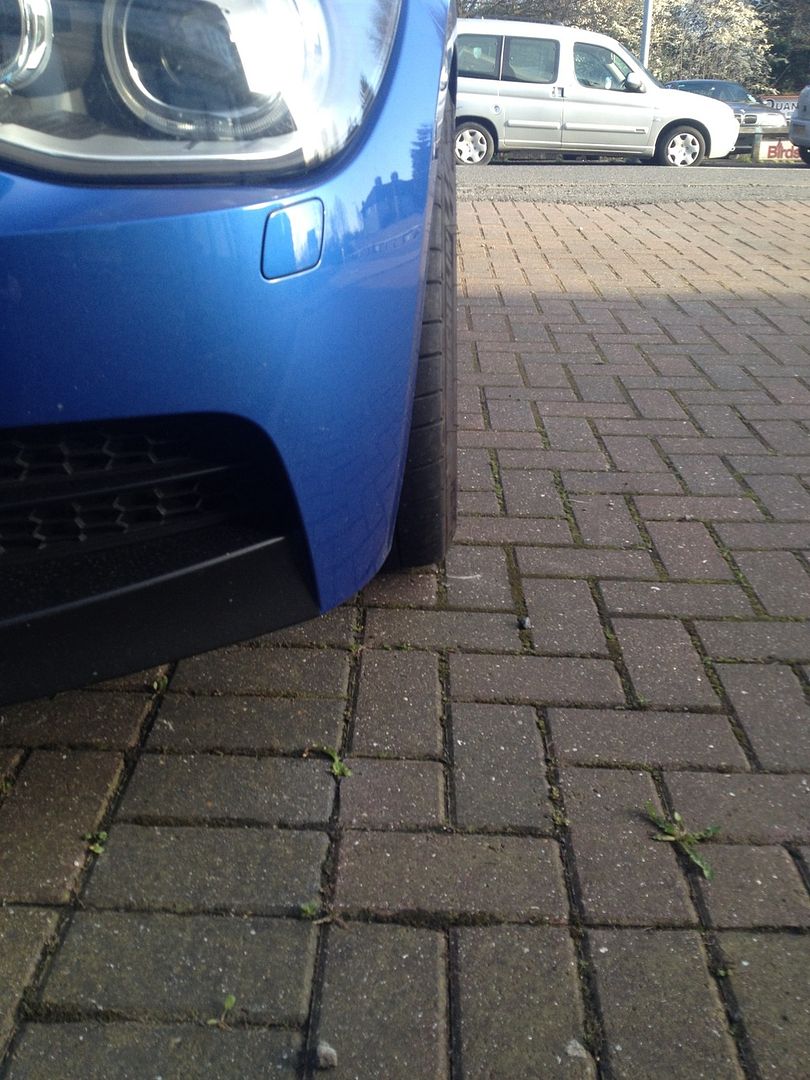 After - NSF 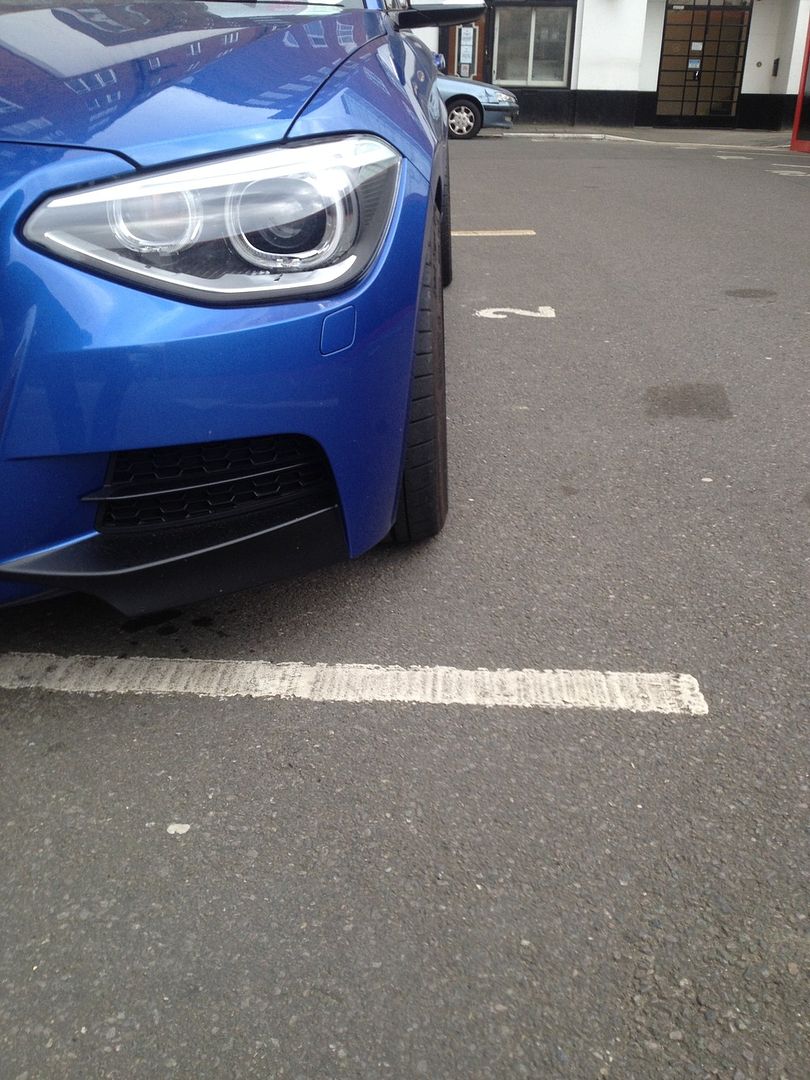 Before - OSF 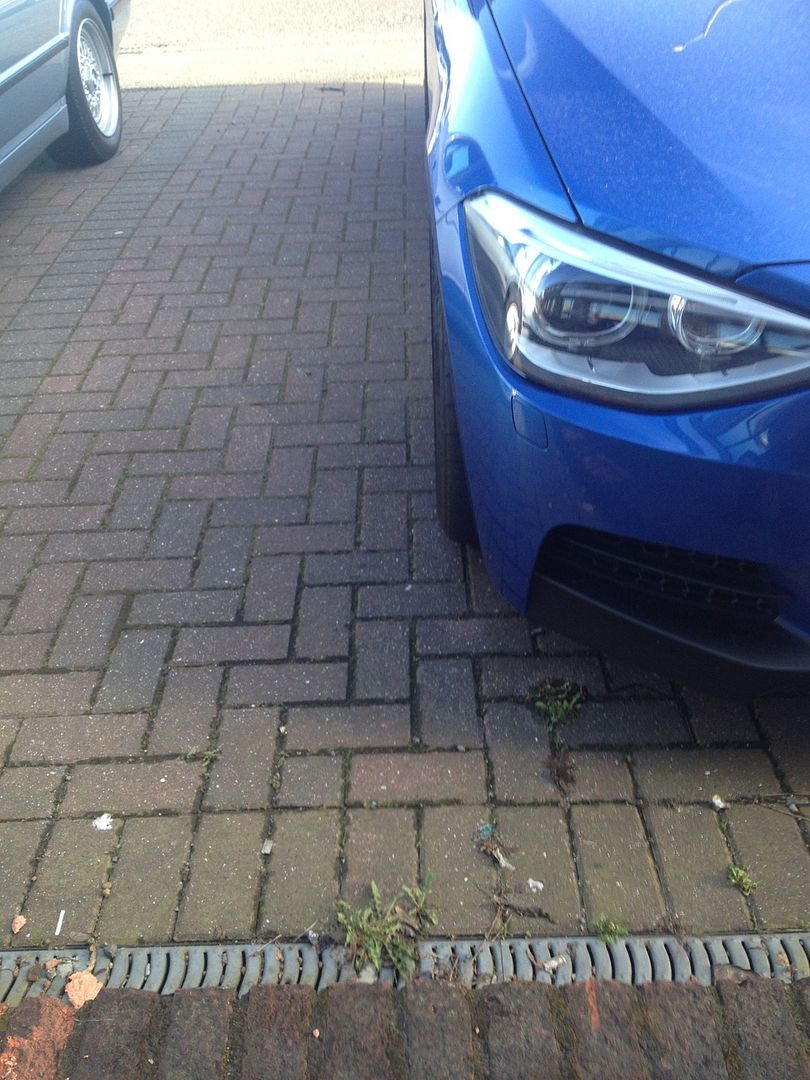 After - OSF 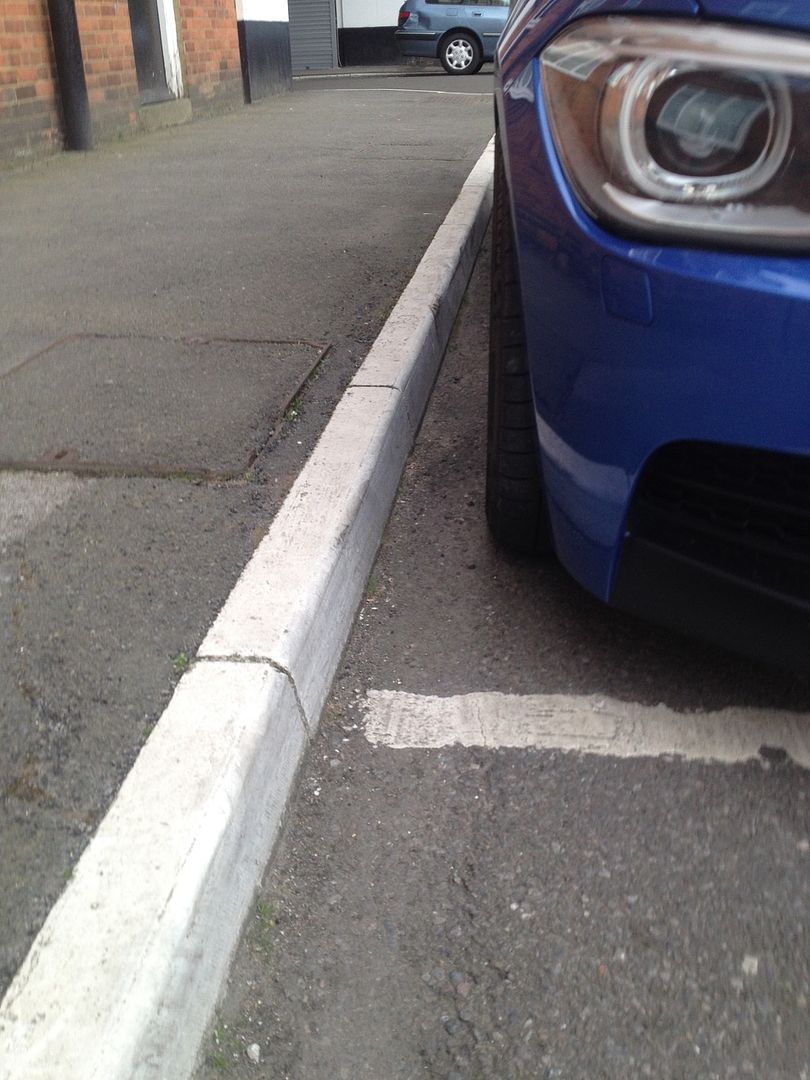 Tracking adjusted but ran out of time to get L & R camber changes checked but it's circa an extra 1 deg negative. Will get alignment re checked in a couple weeks. Stance looks even better IMHO with a v slight extra poke ie wheel faces more flush with wheel arch. No rubbing even with 8" wide et34mm wheels. Initial feel is good but only driven round the 'burbs so looking fwd to my blat up to N Wales this w/end. BP UPDATE :- Managed to sneak out 1st thing to meet up with Cayman S driving chum for a fast thrash round evo triangle. 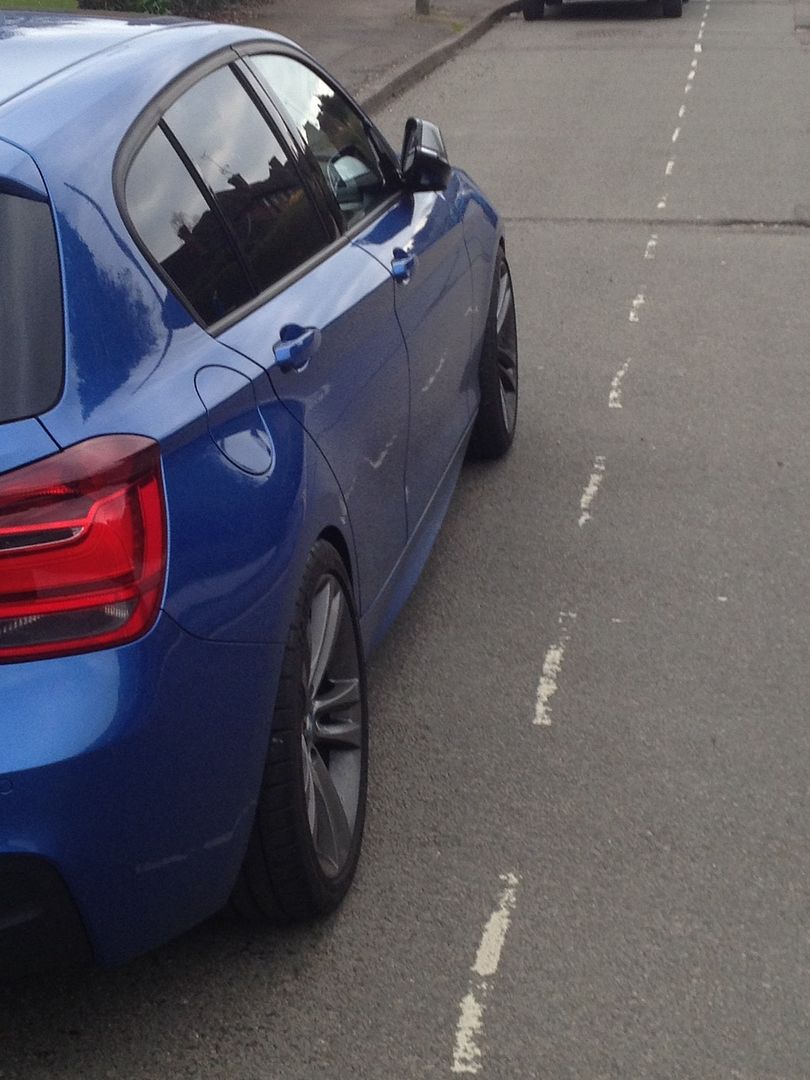 Hence grubby car. One slight-ish issue I have is my wider/et34mm front wheels are positioned slight further forward in relation to wheel arch. On v fast bumps it rubs at about the one o clock position in the photo below. Bit of a dilemma as I really like the grippier front end and steering feel.  As a comparison, front wheel position in wheel arch pre F8x LCA install 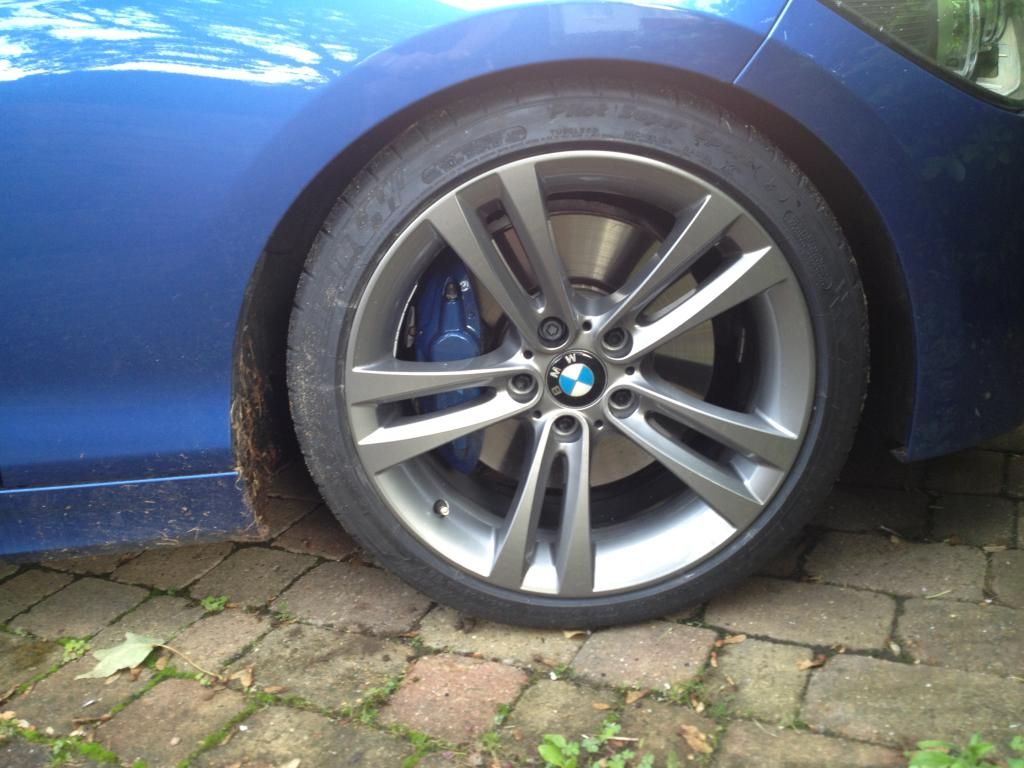 Last edited by Bee Pee; 04-06-2015 at 04:30 AM.. |
|
Appreciate
0
|
| 04-06-2015, 04:10 PM | #47 |
|
Brigadier General
 
1973
Rep 4,637
Posts |
Feedback on F8x LCAs
Summary of what these LCAs do
- added about 1 deg of neg camber  - moved the top of the wheel out a bit (reducing clearance to the bodywork)  - moved the wheel about 1/2" /13mm further forward in the wheel arch, adding some caster and more steering feel  (and further reducing clearance to the wheel arch) (and further reducing clearance to the wheel arch)  My car's other chassis mods means it doesn't suffer from understeer and already has crisp turn-in. My wider, more aggressive offset front wheels mean I'm on the limit as far as contact between tyre and wheel arch. This OE upgrade (on a stock chassis or for someone considering an alternative to Sway bars) will:- - be v effective in reducing understeer and making turn in sharper; - negates the need for front spacers (front track is o/a 1"/25mm wider); - reduce wear on outer shoulder PSS; - adds more feel to EPS in both modes. In summary, whilst I'm in a dilemma due to gains on my setup being marginal and high compression contact with my current wheels, this OE upgrade is very worthwhile.
__________________
Fettled M135i EB AT then AW M2 DCT - both gone but not forgotten:
Current '22 X3M LCI..  |
|
Appreciate
0
|
| 04-07-2015, 10:30 AM | #48 | |
|
Major General
  1416
Rep 5,262
Posts |
Quote:
Also is the LCA switch a DIY or do you need special tools to do it ? Last edited by pikcachu; 04-07-2015 at 10:46 AM.. |
|
|
Appreciate
0
|
| 04-07-2015, 01:06 PM | #49 | |
|
Brigadier General
 
1973
Rep 4,637
Posts |
Quote:
No special tools and it's a DIY although alignment is a must. Spot the shiny new bit..... 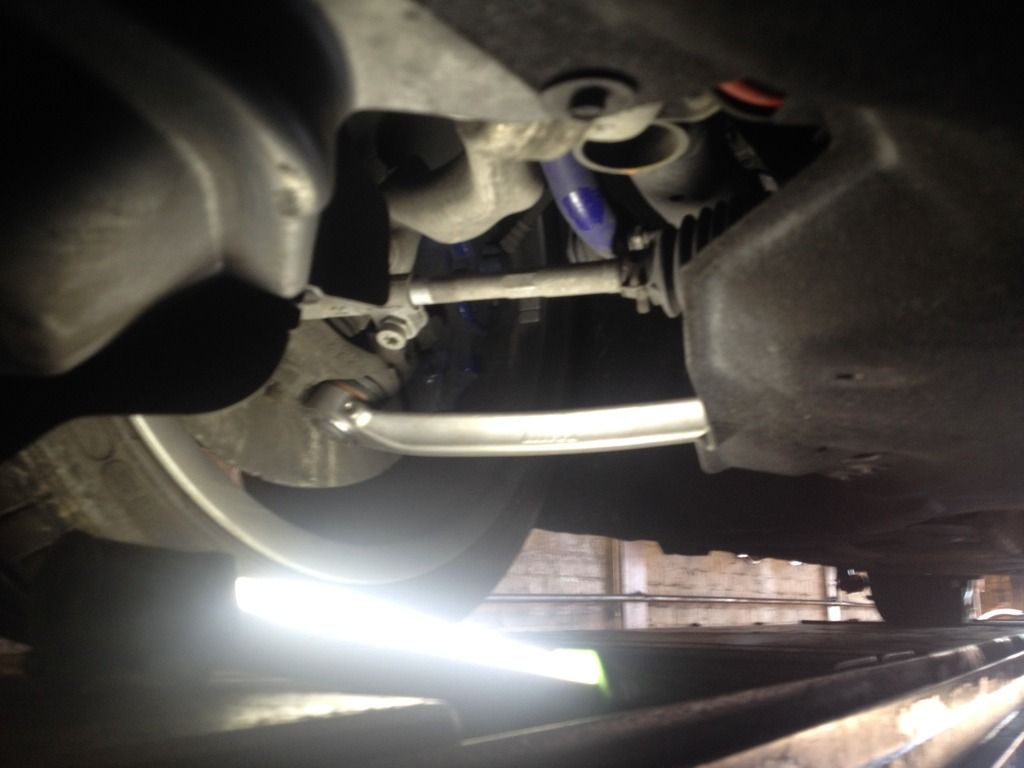 Car at Hounslow Tyres in their Hunter Hawk Eye wheel alignment rig:- 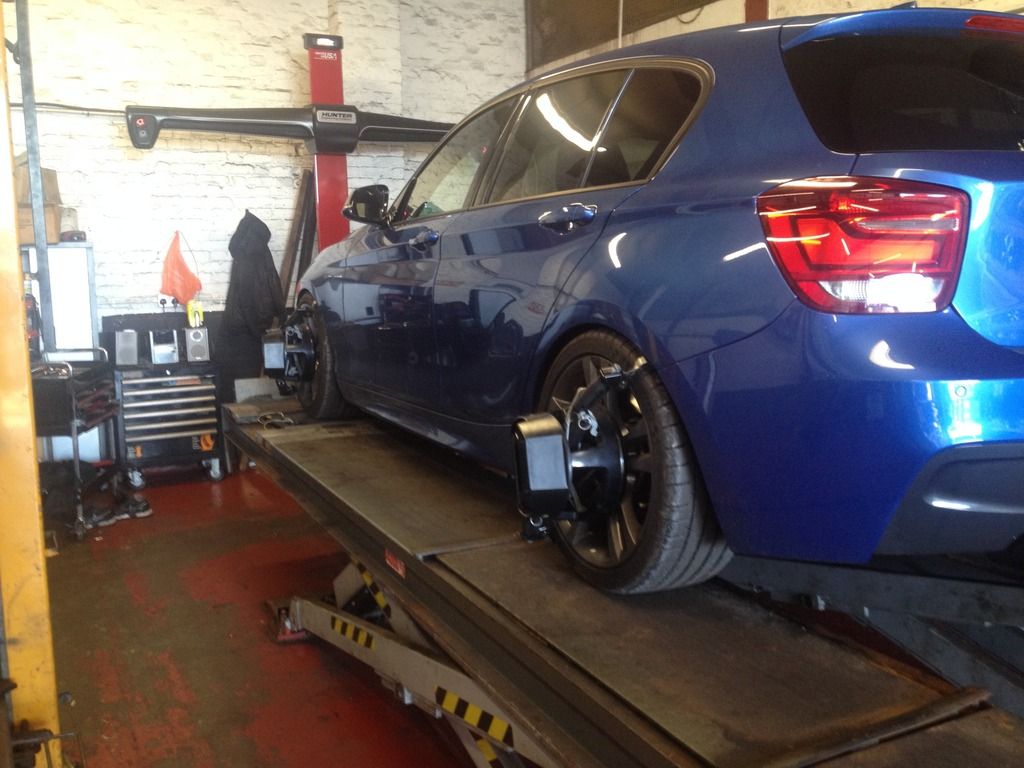 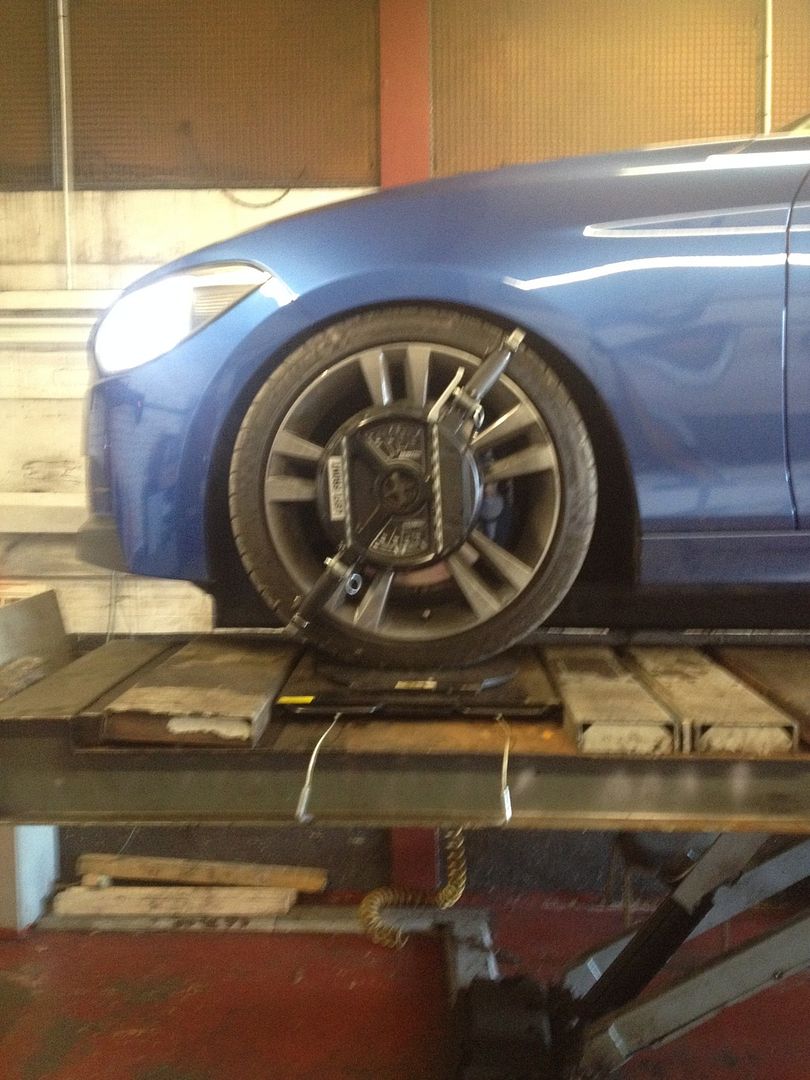 Results :- 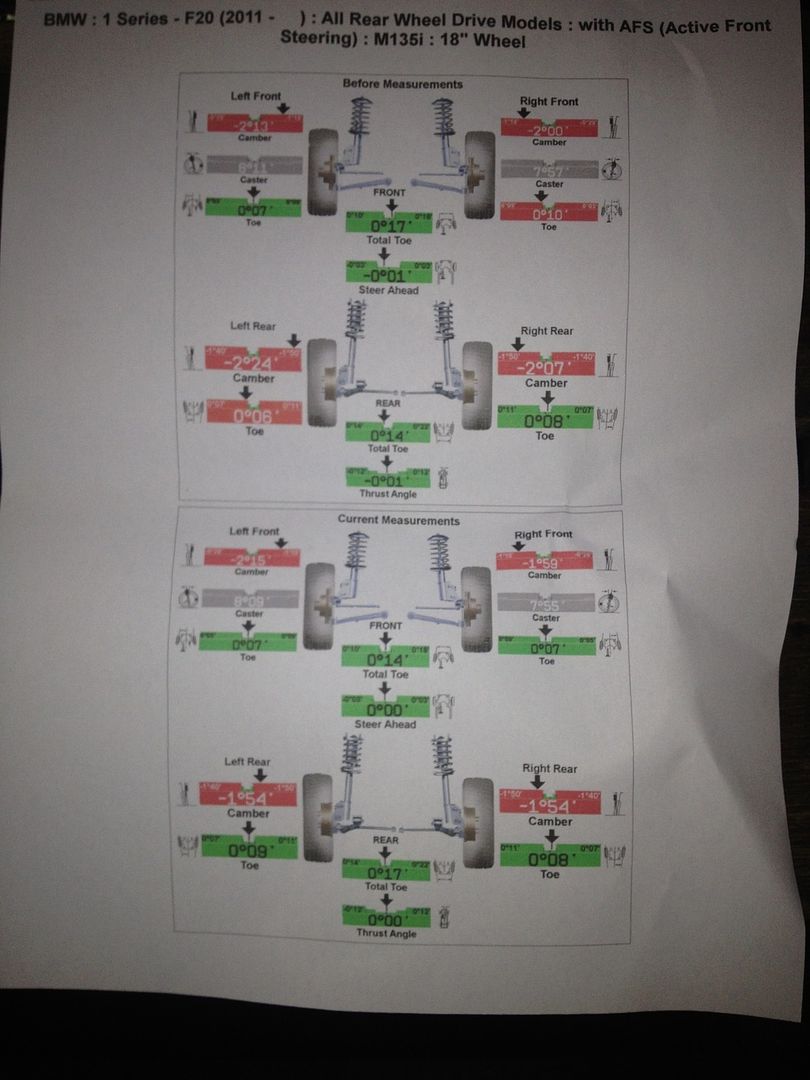 -2deg camber and large castor angle. Need to figure out a tension strut/arm that would reduce the castor (and perhaps camber a little too)
__________________
Fettled M135i EB AT then AW M2 DCT - both gone but not forgotten:
Current '22 X3M LCI..  |
|
|
Appreciate
0
|
| 04-07-2015, 01:29 PM | #50 |
|
Major General
  1416
Rep 5,262
Posts |
Nice
Any idea of torque specs for the Lca bolts ? How is that you got .5 less negative camber on the right wheel than the left after the alignment? |
|
Appreciate
0
|
| 04-08-2015, 03:32 AM | #51 |
|
Brigadier General
 
1973
Rep 4,637
Posts |
Pika,
The difference in camber is only 16secs ie 0.25deg and is well within spec. Lower control arms to knuckle 122 ftlb (165 Nm) Lower control arms to subframe 74 ftlb (100 Nm) BP |
|
Appreciate
0
|
| 04-08-2015, 07:41 AM | #52 | |
|
Major General
  1416
Rep 5,262
Posts |
Quote:
 Where do you get the torque data? |
|
|
Appreciate
0
|
| 04-09-2015, 02:22 PM | #54 |
|
Second Lieutenant
 
79
Rep 201
Posts |
Would there be any value to upgrading to these LCAs if camber plates were installed?
__________________
2015 6M Black Sapphire Metallic | MPE w/Carbon Tips | Digital MP Steering Wheel | Carbon Interior | StopTech Slotted Rotors | Pagid RSL1 Race Pads | KW Clubsport Coilovers | DINAN Stage 2 and Carbon air intake | Clutch Masters Lightweight Performance Clutch and Flywheel | Hotchkis Anti-Roll Bars | Enkei RS05RR 18" Racing Wheels
|
|
Appreciate
0
|
| 05-01-2015, 02:39 PM | #56 |
|
Major
 
332
Rep 1,084
Posts |
Quote:
my car with LCAs looks lower now than pre-LCAs, is why I ask... |
|
Appreciate
1
|
| 05-15-2015, 03:46 PM | #60 |
|
Major
 
332
Rep 1,084
Posts |
|
|
Appreciate
0
|
| 05-16-2015, 07:12 AM | #61 | |
|
Lieutenant Colonel
 
266
Rep 1,794
Posts
Drives: F30 328i M 6mt, E36 M3
Join Date: Jul 2009
Location: Shakedown Street, Buffalo NY
|
Quote:
My reason for the post is that I am wondering if I can have more neg camber going with either the F30 or F80 arm, allowing me to avoid camber plates. My car is maxed at -1.2 on both sides of the front, and that was with me pulling the bottom of the wheel out as hard as I could while my friend (mechanic working the alignment rack) lined it up.
__________________
 |
|
|
Appreciate
0
|
| 05-16-2015, 10:34 AM | #62 | |
|
Major
 
332
Rep 1,084
Posts |
Quote:
You've loosened your strut hat mounting nuts and slid the tops all the way in, too? |
|
|
Appreciate
0
|
| 05-29-2015, 02:35 PM | #63 |
|
Major General
  1416
Rep 5,262
Posts |
Anybody can take a picture of how you install the LCA with the xenon headlight rod?
looks like the cable for the sensor is not long enough when using the M4 bracket for the sensor Last edited by pikcachu; 05-29-2015 at 02:49 PM.. |
|
Appreciate
0
|
| 05-29-2015, 04:01 PM | #64 |
|
Brigadier General
 
1973
Rep 4,637
Posts |
Pika,
The m4 rod should have come with 2 bolts and 2 m6 nuts which secures both ends of the rod. Remove one of the bolts (ball shaped end) and push the ball end into the socket on the lower end of your existing rod. Insert into the bracket on drivers m3 LCA and secure with m6 nut. Hope this helps. BP |
|
Appreciate
2
|
| 05-29-2015, 06:15 PM | #65 | |
|
Captain
    475
Rep 957
Posts |
Quote:
do you think camber plates would solve the rub? Reason I ask, I have camber plates, with adjustable Castor and want to mount the lca's for the bushings. I would like to run 18x8.5 ET 38, with a 255 35 tire square setup for track, and just stock tires for street. Thanks again! |
|
|
Appreciate
0
|
| 05-30-2015, 02:26 PM | #66 | |
|
Major
 
332
Rep 1,084
Posts |
Quote:
Stock LCAs, -2.5deg camber: Street: 18x8.5et37 255/35r18 Michelin PSS, zero clearance issues Track: 18x9et36 255/35r18 Toyo Proxes R888, minor fender rubbing on track Once I got F8x LCAs, my street setup had a slight rub in the front fender liner with half a turn of lock, plus a little fender interference at the lip. Also: I bent my front right fender a bit at autocross (track setup). I had to make a couple of changes. Today's setup, with F8x LCAs, -3.5deg front camber, and rolled fenders: Street: 18x8.5et42 255/35r18 Michelin PSS, zero clearance issues Track: 18x8.5et36 255/35r18 Toyo Proxes R88, zero clearance issues To roll my fenders, I flattened the inner lip flush with the inside of the fender about 3/4 of the way from front to rear. This gives another 2-5mm of clearance (w00t!) while retaining the original outer fender shape. To do so, I wrapped an 8" long block of 1x2" wood in a soft shop towel (blue ones from Costco). I then clamped the block to the outside of the flat bit of the fender with a couple of plastic helper clamps. Then, I took a large C-clamp and squeezed the lip flat to the inside of the fender, using the block to distribute pressure on the outside. I worked bit by bit, starting from the front of the fender, moving very slowly towards the rear, checking my work every squeeze or two. As I worked along, I also moved the block to keep the squeeze point close to the middle of the block. You don't want to completely flatten the lip all in one go. Doing so will introduce creases. Flatten it a bit in one spot, the next spot, etc. until you've covered the area you're planning to flatten. Then, rewind completely and start again at the front to get a bit more flattening. It's sort of like multiple coats of paint. I probably went over each fender 4 times. Also note: the transition from being flat to the curved original profile needs to be gradual to prevent creases from popping up on the outside. I think I used about 2" to transition from flat back to original curved. |
|
|
Appreciate
0
|
Post Reply |
| Bookmarks |
|
|