So I never got a better front end pic of the scoops, but instead finally got round to fitting the M3 front arms.
Took me a few hours as was taking pics and generally taking my time lol.
First off here are the front M3 control arms in all their glory:
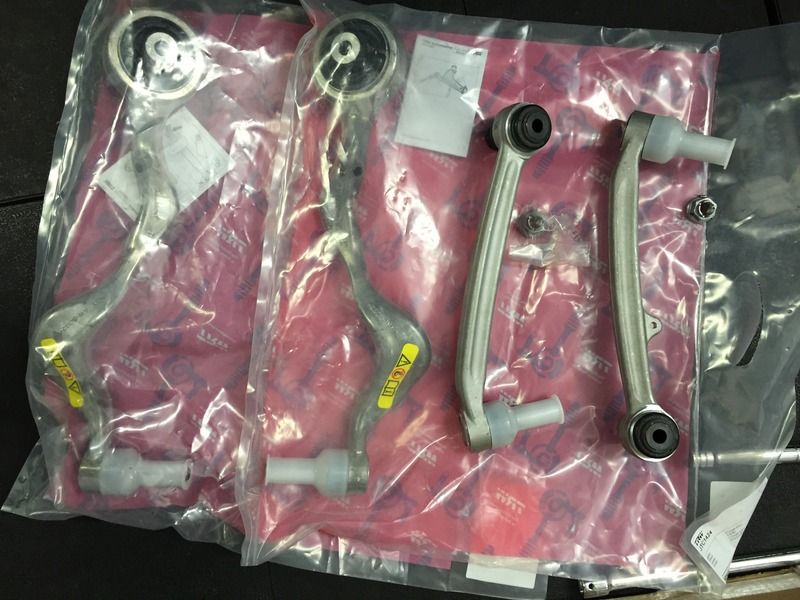
Here's links to the arms I purchased:
https://spareto.com/products/jtc1426-track-control-arm
https://spareto.com/products/jtc1427-track-control-arm
https://spareto.com/products/jtc1423-track-control-arm
https://spareto.com/products/jtc1424-track-control-arm
And the M3 levelling arm part number is 37142283867 and the additional nut 07129904876.
To start with, jack up the car (i used my Arcan trolley jack at the centre front jacking point).
Wheels off and a pic of the front original control arm in place (you can see the end is tucked behind the arch liner):

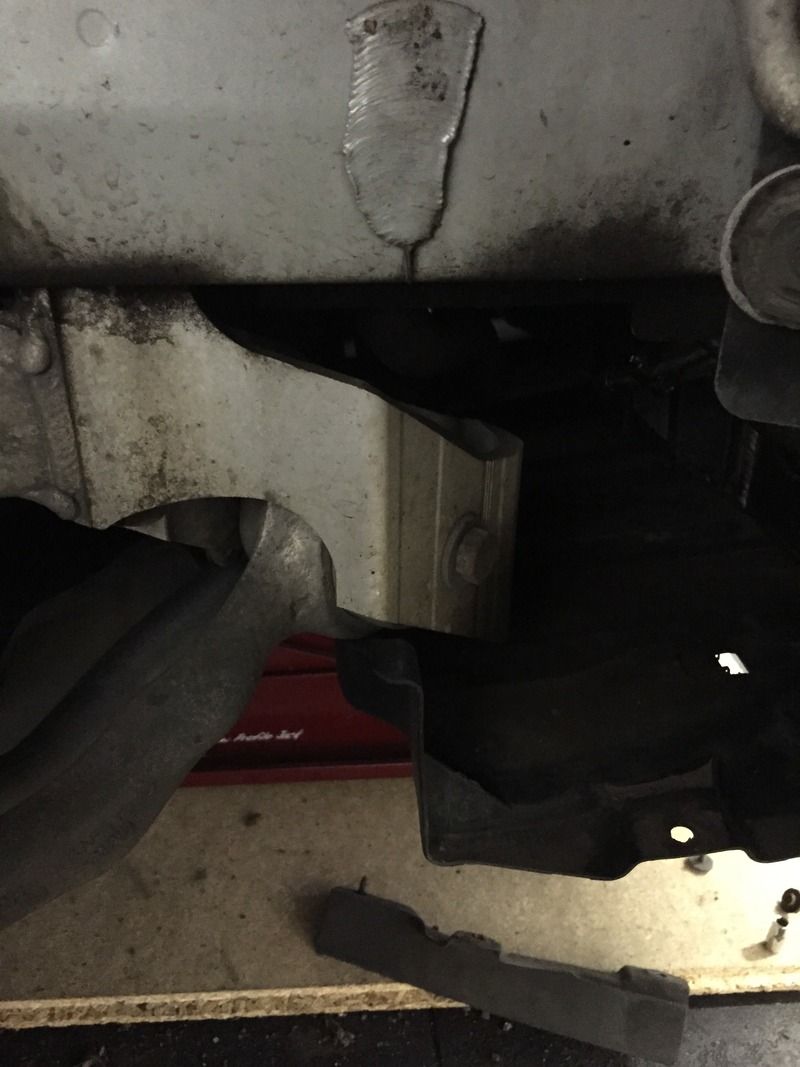
Using an 8mm socket remove the small bolts that hold the front section of the wheel arch liner in place. There is one 10mm plastic nut too.
With the arch liner out you can see the end of the arm and the bolt that holds it in place (there is a captive nut on the other end of that bolt so makes it easier to remove the bolt):
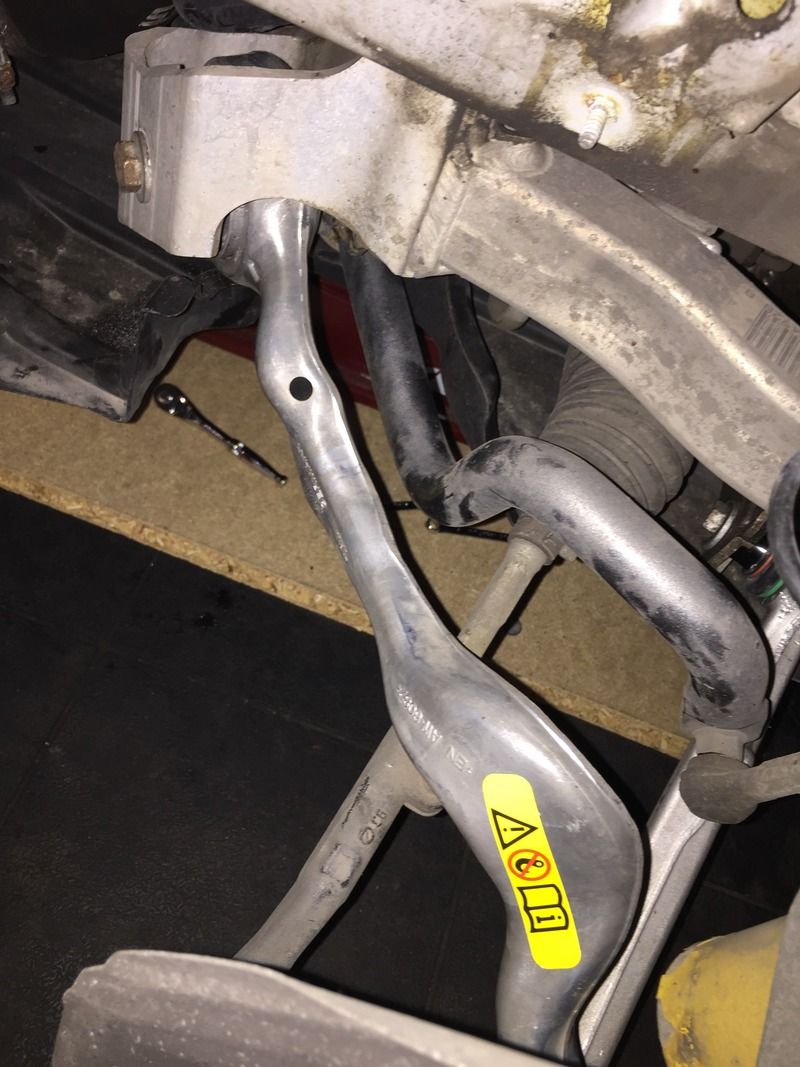
A quick pic of the rear original control arm (the under tray does cover the end of the arm so if you just remove a few of the 8mm bolts you can pull the under tray down when you need access):
Here's the balljoints for both arms connected to the hub (front arm bolts downwards and the rear one upwards):
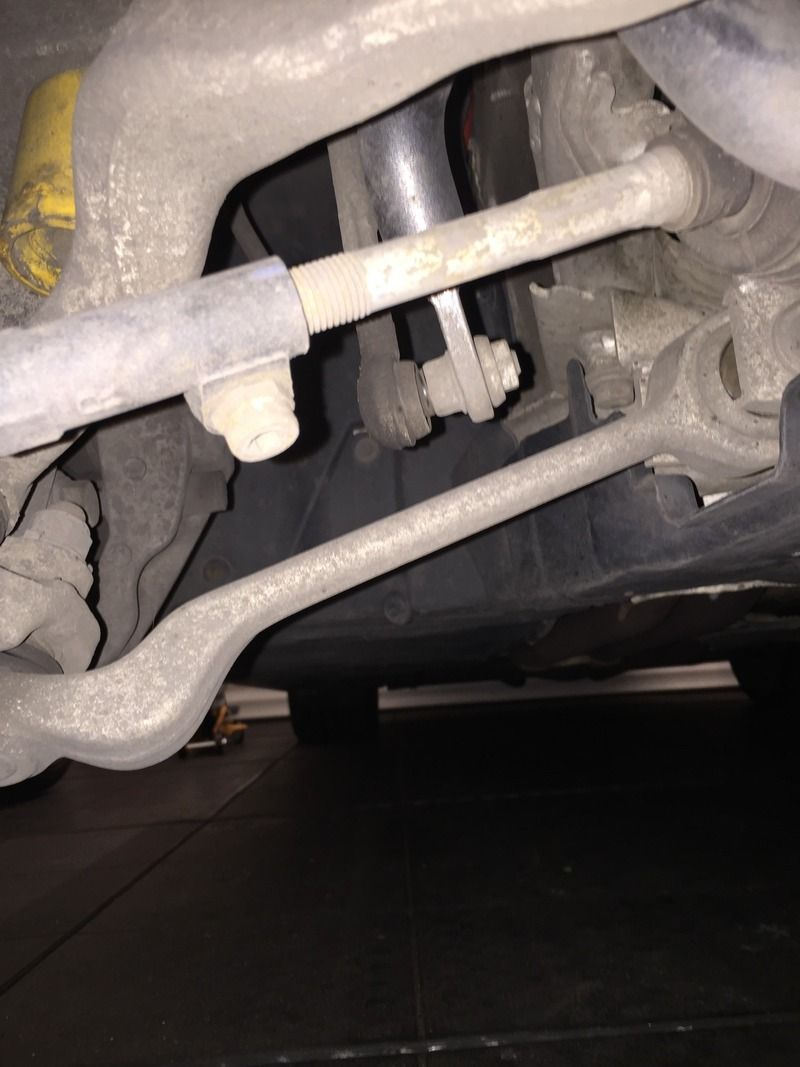
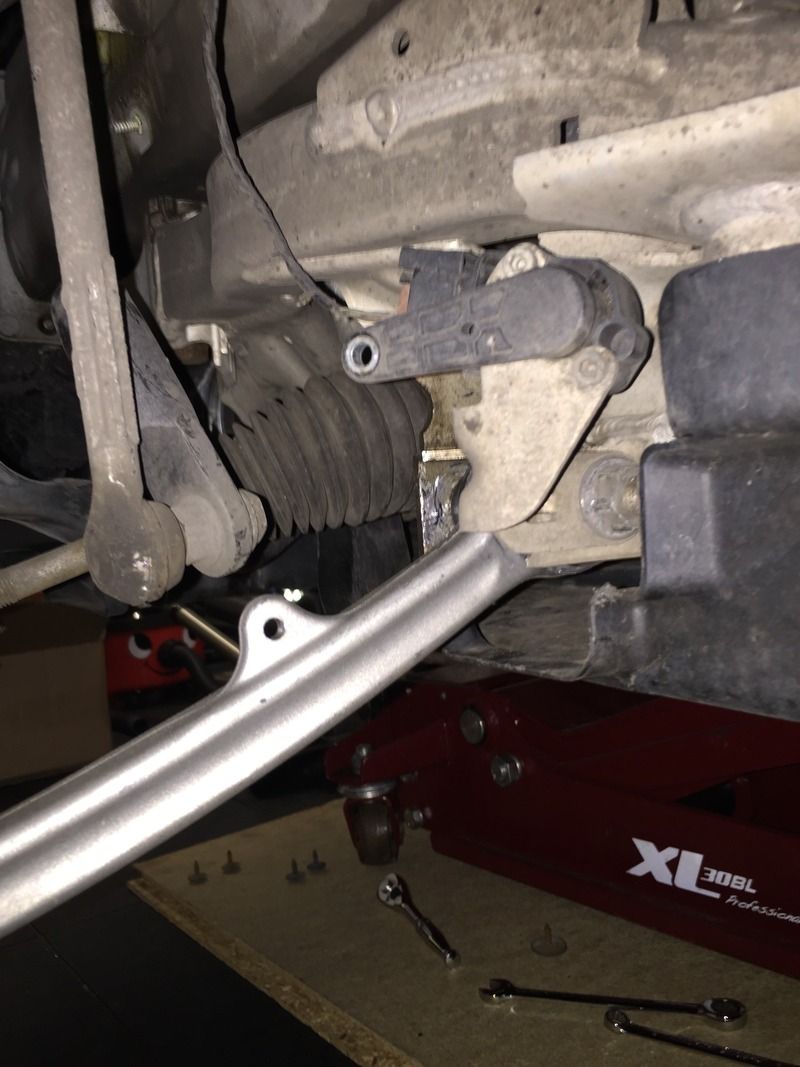
I now started actually getting on with swapping the arms out so removed the levelling sensor arm. You need the M3 levelling arm and a single extra nut as the original one is clamped to the rear control arm (as you can see in the pic) whereas the new one is bolted on. To remove you need a 10mm spanner/socket and a 9mm to hold the ball in place:
Once the levelling arm is off remove the rear control arm.
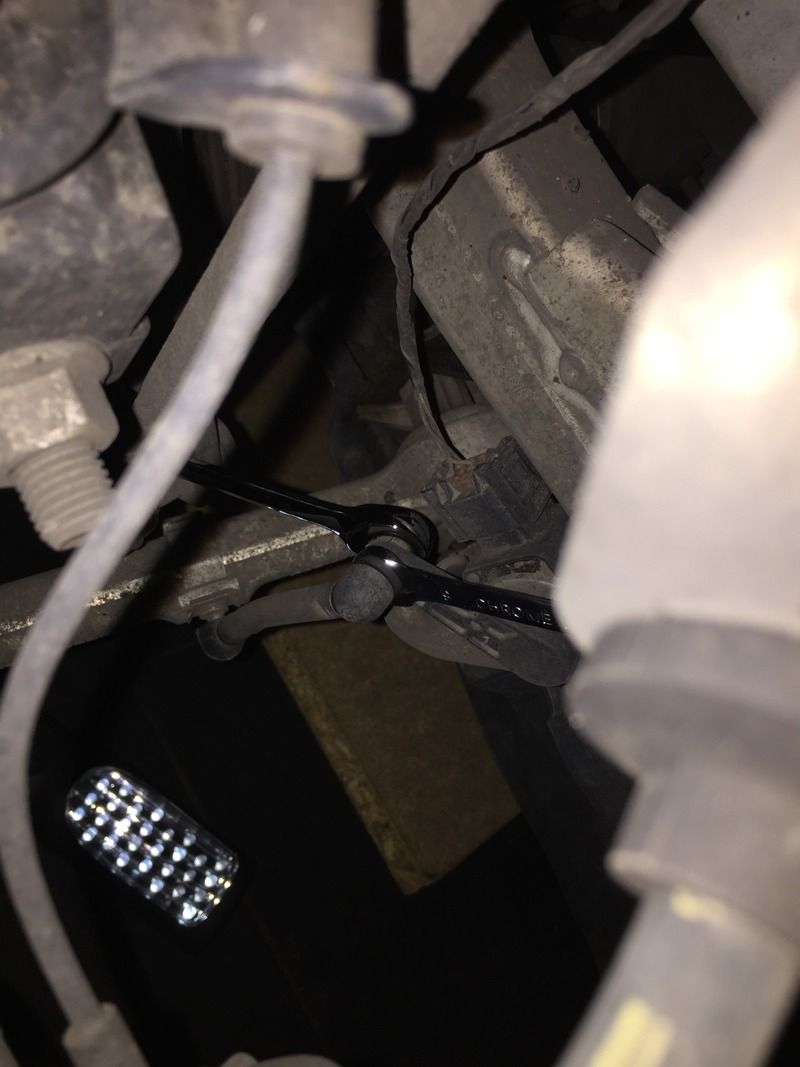
The rear control arm balljoint is held in place with a 21mm nut. To undo you need to use a T40 to hold the balljoint straight while undoing the nut otherwise it will just spin the joint at the same time:
Bit of a shake of the hub and if needed a small tap with a hammer and the balljoint will drop out.
To remove the bush end you need to remove the nut/bolt (18mm both the nut and bolt). Needed to tap the end of the bolt to actually get it out. The end of the steering rack looks like it blocks the bolt but you can lift it a touch. for some reason didn't get a pic of this...hmmm.
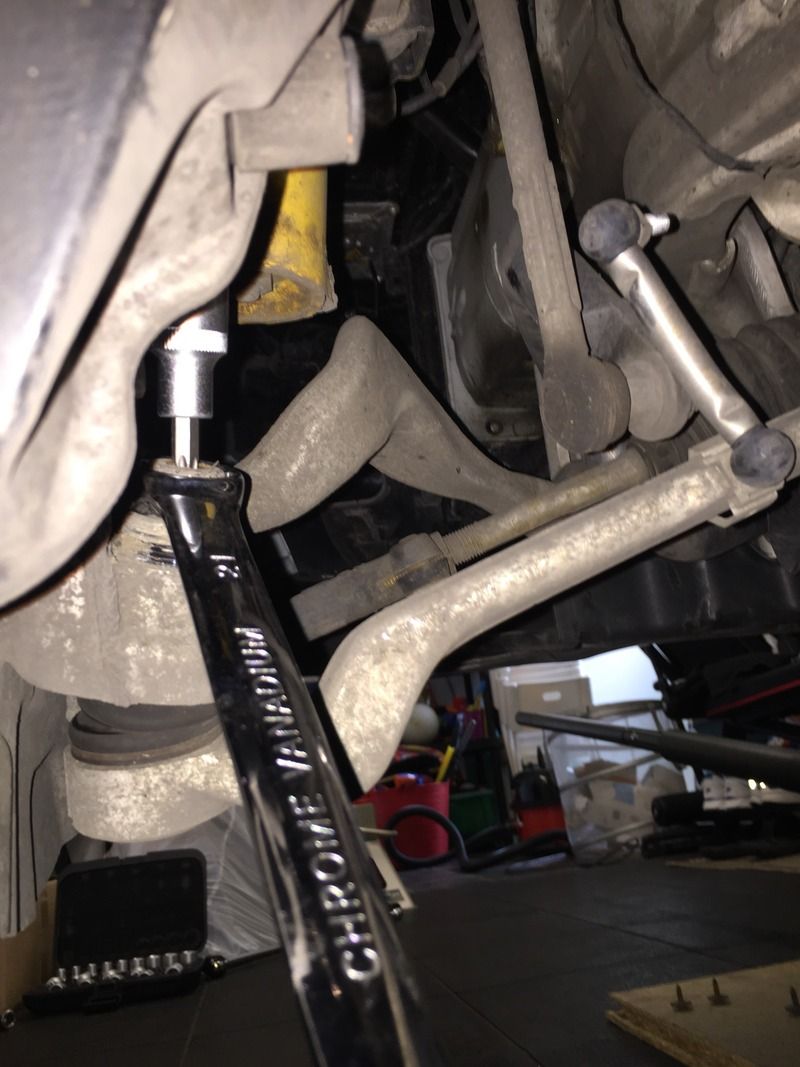
To remove the front control arm you need to do the same on the balljoint side (use a 21mm spanner and a T40 socket). The bush end is held in place with the 18mm bolt and the captive nut.
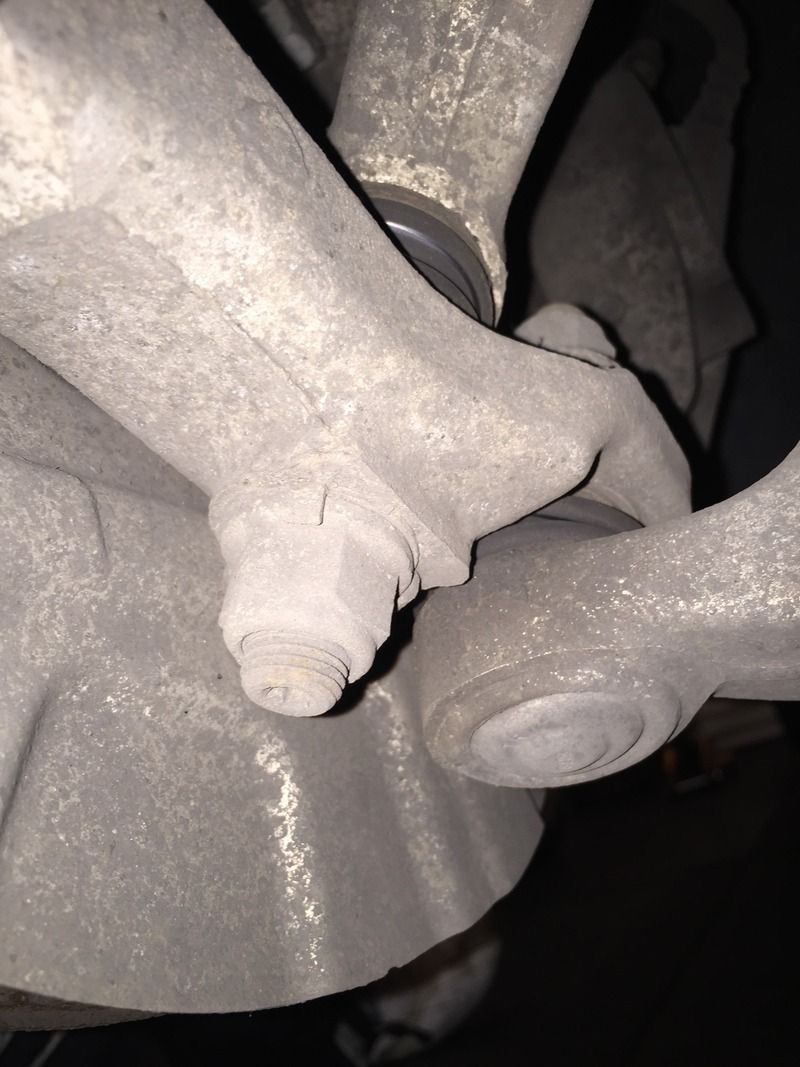
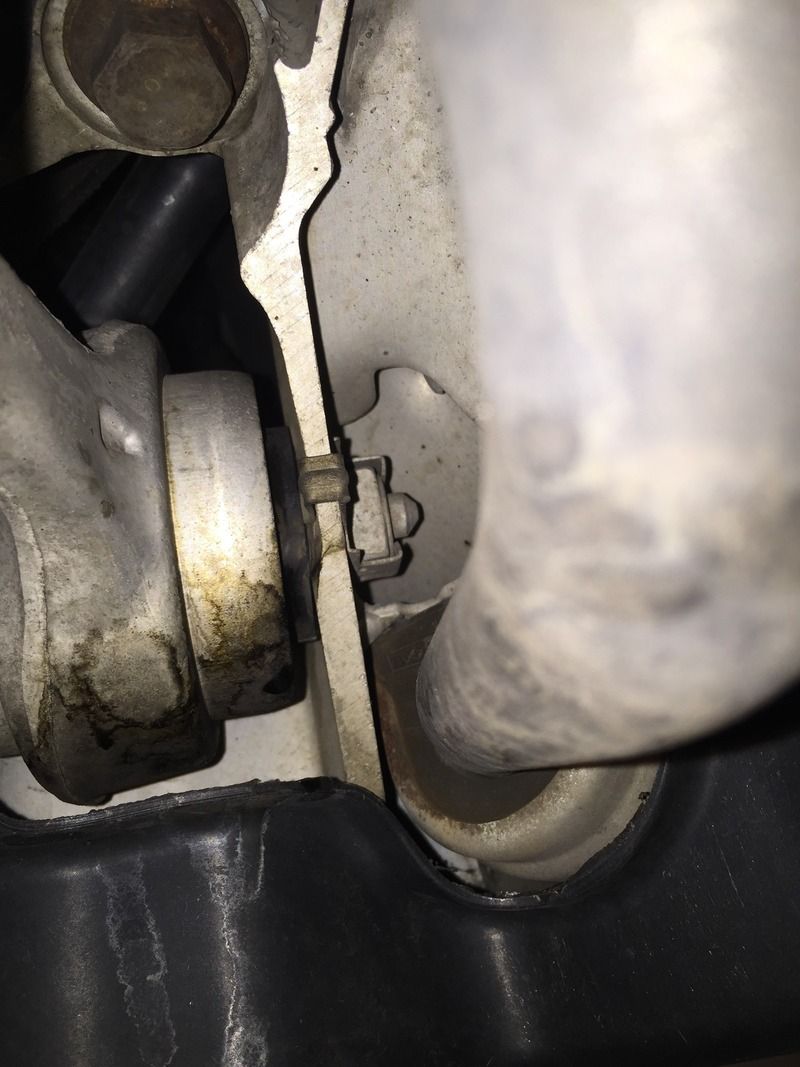
Captive nut:
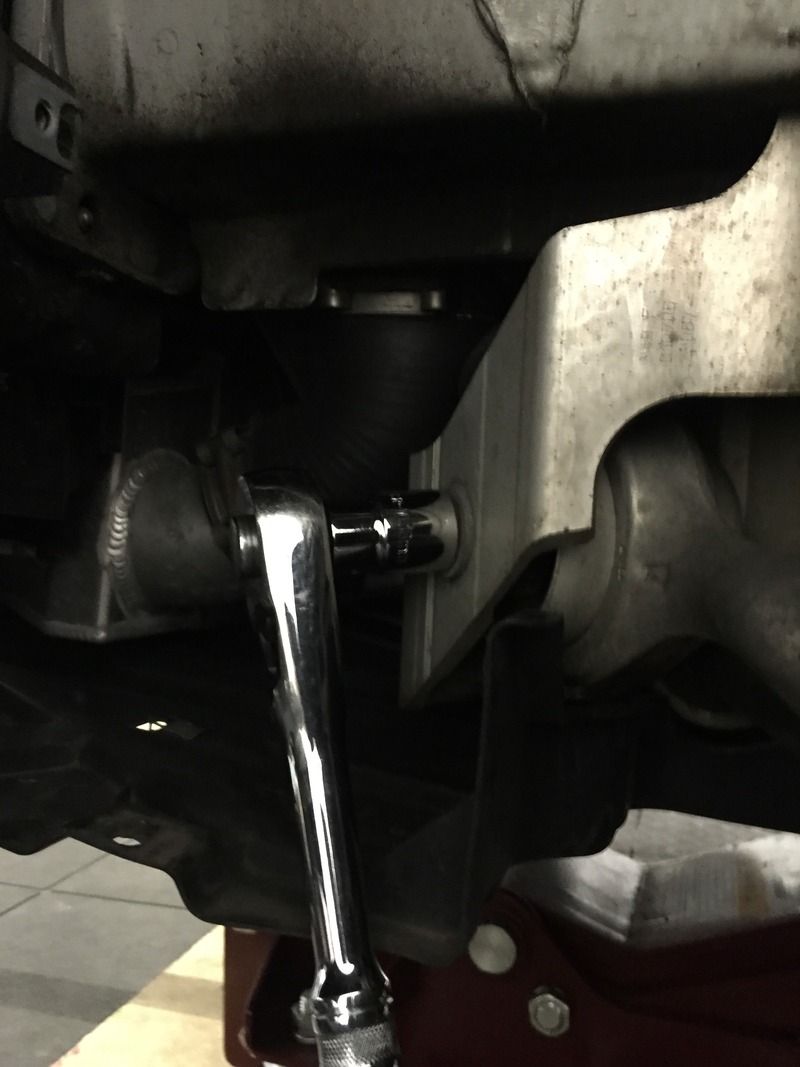
And the 18mm bolt removal:
Both arms out and sat next to their M3 counterparts (you can see the different connection for the levelling arm to the control arm):
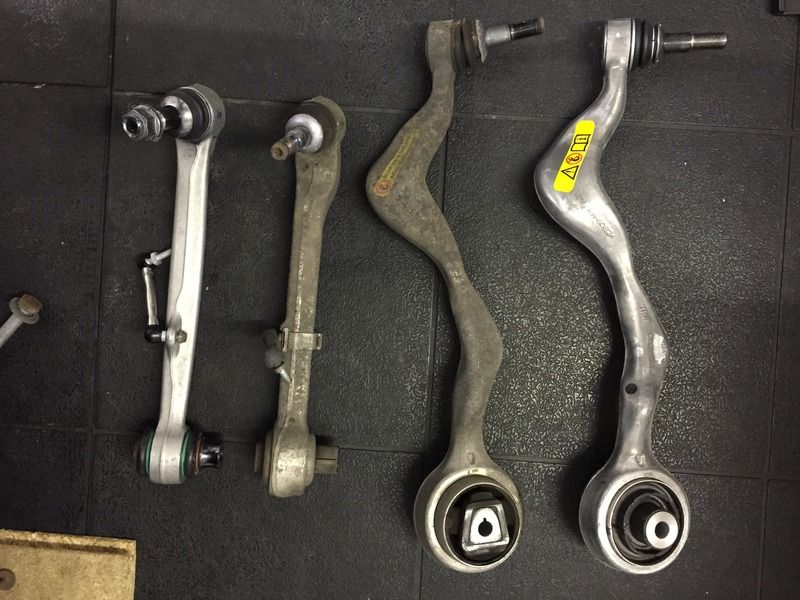
You'll notice that the M3 arms use proper balljoints at both end too.
To fit the M3 arms, it's just the reverse of the removal process above. So I started with the front control arm and put balljoint end into the hub first and then squeezed (using a mallet/hammer) the subframe side in place. It is a little time consuming trying to get it lined up so you can get the bolt back in:
Then onto the rear control arm. This time I put the subframe side in first and I can tell you it was a pain. The subframe metalwork is solid so you can't just pry bar it apart to get the arm in. Took a lot of hammering etc to get it in and lined up. Don't forget to put the levelling sensor bracket onto the end of the bolt before putting the nut on:
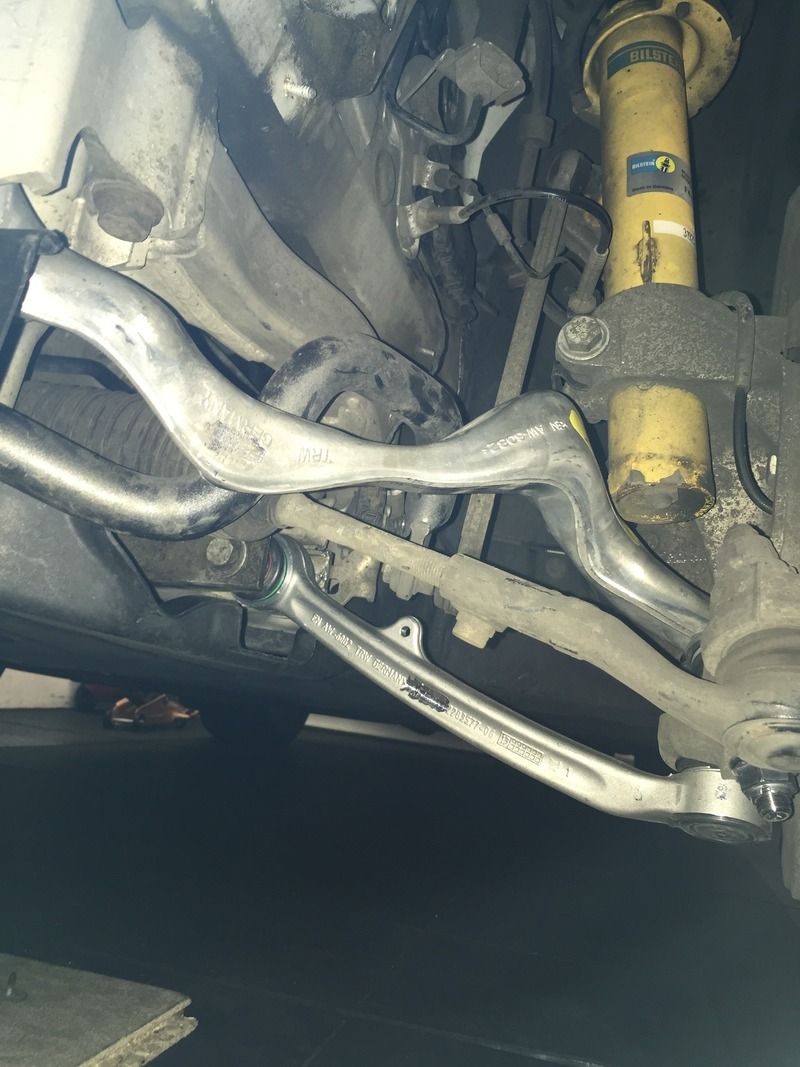
Finally both in place (don't forget to bolt the levelling sensor arm in too):
One thing to remember is that before tightening up the nuts/bolts etc on the subframe side, you need to put the suspension etc under load so that the balljoints are straight. With the wheels still off I used a breeze block with a piece of wood on top under each brake disc and lowered the car onto them. Then tightened the nuts/bolts up.
After that is was just a matter of putting the arch liner back in place and bolted the under tray up. Wheels back on and job done.
Just need to get an alignment done now.